Keep Small Details low or negative on skin areas to avoid emphasizing blemishes. Boost Medium Details slightly for hair and clothing texture. Medium & Large Details
In the world of digital post-processing, the difference between a "good" photo and a "breathtaking" one often lies in the fine details. While Adobe Photoshop offers native sharpening tools, professional photographers frequently turn to specialized software to push their images further. Enter , a powerhouse plugin designed to provide unparalleled control over image depth, texture, and clarity without the dreaded "halo" artifacts.
Right-click the new layer and select . This ensures your edit is non-destructive, allowing you to re-adjust settings later. Step 2: Launch the Plugin Navigate to the top menu bar and click Filter . Hover over Topaz Labs and select Topaz Detail 3 . Step 3: Choose a Baseline Preset
This public link is valid for 7 days and shares a thread, including any personal information you added. This link or copies made by others cannot be deleted. If you share with third parties, their policies apply. Can’t copy the link right now. Try again later.
[Original Image] │ ├─► Small Details ──► (Pores, fur, fabric weave, fine lines) ├─► Medium Details ──► (Clothing folds, brick textures, foliage) └─► Large Details ──► (Major contours, structural shapes, depth)
If by "give me paper" you meant the or Technical Guide for the software: Topaz Labs typically provides a PDF user guide for their software. While the specific manual for version 3.2.0 is no longer hosted on the main product page (as the product is retired), the functionality is described in their general documentation regarding "Detail" and "Clarity" adjustments. Topaz Detail 3.2.0 Plugin Photoshop Final
Photographic sharping often introduces unwanted artifacts like halos, edge noise, and brittle textures. Traditional sharpening tools apply a blanket contrast adjustment across the entire image, which frequently ruins delicate gradients in skies or skin tones. The Topaz Detail 3.2.0 plugin for Adobe Photoshop solves this fundamental problem by utilizing advanced internal decomposition technology. Instead of sharpening edges, it breaks an image down into three distinct detail frequencies, giving photographers absolute control over micro-contrast without the risk of pixel degradation.
Installing Topaz Detail 3.2.0 manually is straightforward, though the automatic installer usually handles the heavy lifting. Here is the standard process:
Wait a few seconds as the plugin analyzes the three detail sizes in your photo.
: Reviewers often note that while the effect is subtle, it makes a significant difference in final print quality.
Topaz Detail is not just another "sharpen" filter. It is a . The software analyzes your image and separates it into three distinct component sizes: Small, Medium, and Large. By adjusting these independently, you can enhance eyelashes, skin pores, fabric weaves, or cloud formations without creating ugly halos or amplifying noise. Keep Small Details low or negative on skin
What (e.g., landscapes, macro, portraits) are you editing?
Enhances the structural definition of objects like buildings or rocks.
To understand the value of Topaz Detail 3.2.0, one must first understand the limitations of traditional sharpening methods. Standard sharpening tools in Photoshop operate largely by increasing the contrast between adjacent pixels. While this effectively creates the illusion of sharpness, it comes with inherent flaws. The most notorious side effect is the creation of "halos"—bright outlines around high-contrast edges that make an image look over-processed and unnatural. Furthermore, traditional methods often amplify digital noise, forcing photographers to choose between a sharp, noisy image or a clean, soft one. Topaz Detail 3.2.0 was engineered specifically to solve this dichotomy.
The installer automatically attempts to locate your Photoshop Plug-ins directory. If using a custom installation path, manually direct the installer to:
Hold Ctrl (Cmd on Mac) and click on the slider to reset it to zero. Start with Medium details (+0.30), then Small (+0.15), then Large (+0.10). Adjust to taste. This ensures your edit is non-destructive, allowing you
Switch to the Tone or Color tabs if you need to boost the "pop" of the image. For example, you can increase the brightness of the mid-tones to make the newly sharpened details more visible.
While newer Topaz products integrate directly into the AI-based ecosystem, installing classic plugins like Detail 3.2.0 requires directing Photoshop to the proper plugin directory, according to Topaz Labs installation guides . Ensure you have the final 3.2.0 installer.
About the author

Mihael Trifonov
Mihael joined MConverter as a co-founder in 2023 and played a meaningful role in shaping the company during an important stage of its growth. With experience in B2B sales, product development, and marketing, he helped connect business strategy with customer needs and contributed to MConverter’s brand, product direction, and broader vision.
Check out more articles
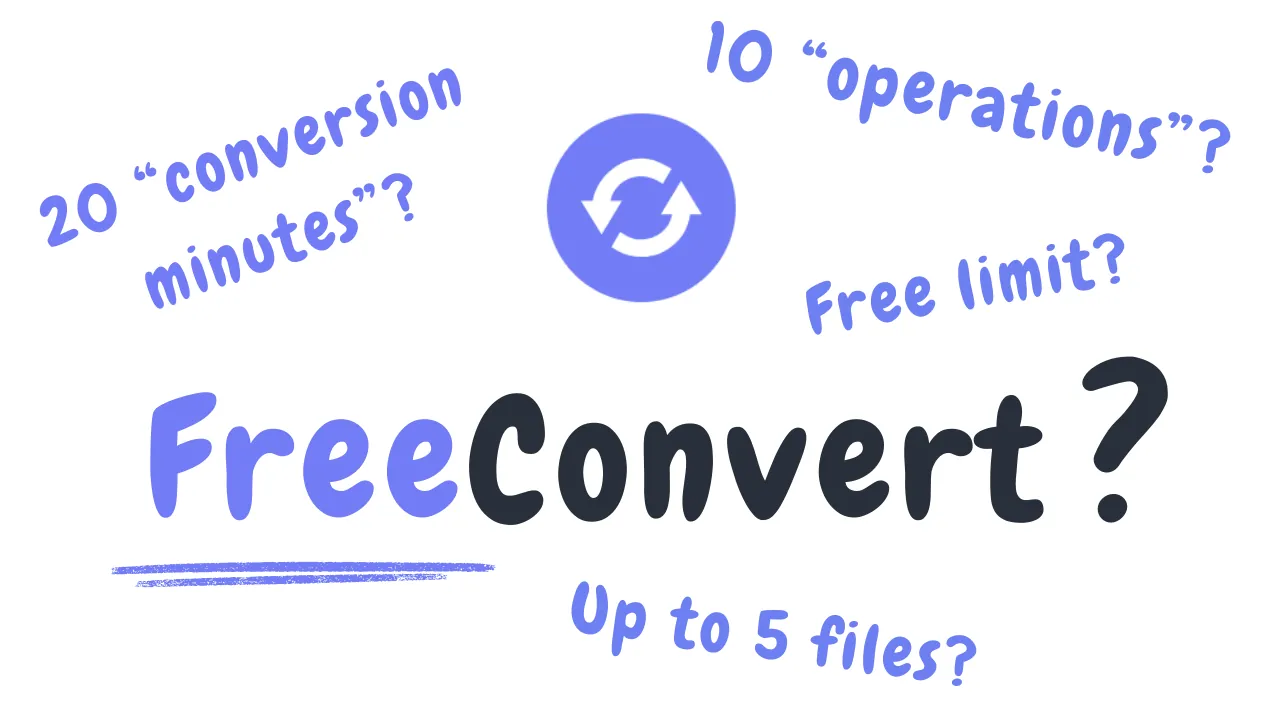
What Is FreeConvert’s Daily Limit in Reality? It’s Not What You Think

FreeConvert vs MConverter: Free Plan Limits